
Monday 31 October 2011
Bloggers' Quilt Festival
 |
What fun! I haven't had the opportunity to join a quilt festival after having left my quilting guild five years ago.
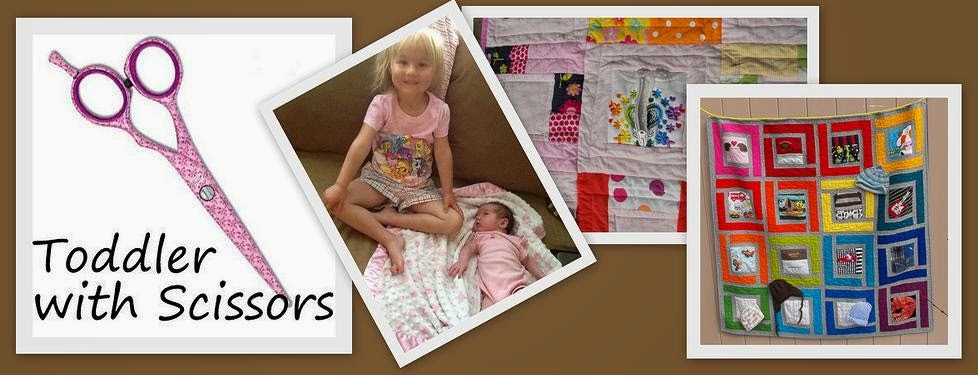
It didn't take me too much time to decide which quilt to enter; of course I would enter A's Alphabears quilt.
I started the quilt around January 2010, somewhere around 12 weeks pregnant. My goal was to have it finished and hanging in the baby's room before he or she was born. I chose rainbow colors for my rainbow baby.
I didn't quite reach my goal. The quilt top was finished and taped to the wall in baby's room on my due date.

It took me until A's first birthday to get it pinned and completely quilted. So...it was only a year late. This is certainly my favorite quilt.

Wednesday 26 October 2011
Wacky Wednesday
Some days, I impress even myself with my clutzieness.
I dropped my tub of coffee grinds and spilled them all over my kitchen floor.
I went to the wrong hospital to visit a friend and welcome her new baby.
On the way to said hospital, I may have ran a red light. I am not admitting this, however.
I was about an hour late picking up A from my mother-in-law's house, which I feel terrible for.
That was all before noon.
Now that the mid-day witching hour has past, I am going to turn my day around!
I will finish folding the laundry!
I will finish making my next Hexi House (complete with lid)!
I will knock out a good portion of the tut for the new Hexi House!
This is as far as I made it yesterday:

I took a -lot- of photos this time in hopes of having one for each step.
This is where I started:

Monday 24 October 2011
First Time Tutter
Tut time tut time!
I thought I would try my hand at writing up a tutorial for the storage boxes I sewed yesterday. They were fun and straightforward to make with a nice mixture of machine and hand work.
When I "worked" for a living, one of my responsibilities was to write up/edit user and maintenance manuals for the equipment the company sold. Call me weird, but that was my favorite part of the job!
Time required: 1-1/2 hours
Materials cost: $0-$15

Materials:
Step 1: Cut it out

From the fabric:
From the batting:
Step 2: Sew in circles


I'd love to see photos of your storage box!
I thought I would try my hand at writing up a tutorial for the storage boxes I sewed yesterday. They were fun and straightforward to make with a nice mixture of machine and hand work.
When I "worked" for a living, one of my responsibilities was to write up/edit user and maintenance manuals for the equipment the company sold. Call me weird, but that was my favorite part of the job!
Time required: 1-1/2 hours
Materials cost: $0-$15

Materials:
- Approximately one fat quarter fabric
- Stiff batting (I used Floriani Stitch-N-Shape)
- Two buttons
- 4" of 3/8" elastic
- Matching thread
- Scissors (rotary cutter would be good)
- 2 safety pins
- CD disk
- pen
Step 1: Cut it out

From the fabric:
- Using the CD disk as your template, draw two circles on the wrong side of your fabric.
- Fold the fabric in half so that you can cut two circles from each tracing at the same time.
- Cut out one circle on the line you traced. You will have two circles of fabric the same diameter as the CD. These are Fabric B.
- Cut the remaining circle approximately 1.4" away from the line traced. If you use a different seam allowance, cut that amount away from the traced line. These are Fabric T.
- Cut one strip 9&3/4" x 16. This is Fabric C.
From the batting:
- Trace two circles using the CD again as your template.
- Cut one circle on the traced line. This is Batting T.
- Cut the other circle approximately 1/4" (or your seam allowance) to the inside of the line. This is Batting B.
- Cut two strips 4&1/2" x 15". These are Batting C.
Step 2: Sew in circles


- Machine sew Fabric B circles, right-sides together, leaving an opening of approximately 2". Backstitch at each edge of opening.
- Turn fabric right-side-out and insert Batting B as shown. (Try not to crease the batting.)
- Slip-stitch the opening closed.
- Disc B is completed!


- Fold the 2" elastic strips in half and sew one on each side of Batting T. Mark the position of the elastic onto the marked Fabric T circle.
- Machine sew Fabric T circles, right-sides together. Leave a 2" opening to insert batting; back-stitch at each side of the opening. At the markings for elastics, leave a 1/4" opening; back-stitch at each side of the opening.
- Pull the elastic through the 1/4" openings so that it is on the right side. You may need to crumple or bend your batting to do this. Once through, put a safety pin on the elastic to prevent it from sliding back in. Turn the circle right-side-out so that Batting T is inside Fabric T.
- Fold the remaining opening to neaten, and pin it closed.
- Sew the entire edge of the circle with a straight or decorative stitch. I chose a zig-zag.
- Disc T is completed!


- Iron Fabric C lengthwise in half (like a hotdog).
- Machine sew along one short edge and the long edge, leaving the remaining short edge open, forming a sleeve.
- Turn the sleeve right-side-out to insert Batting C.
- The simplest way to insert the batting is to fold down the sleeve as far as possible, then unroll onto the batting.
- Fold sleeve openings in, but do not stitch closed (unless you absolutely have to).
- Cup is completed!


- Slip stitch Disc B to Cup. Start in the middle, or at either end; I chose the middle for some unknown reason. I stitched the fabric such that the cup would sit on the outside of the bottom by sewing the inside-side of the cup to the bottom side bottom.
- Slip stitch the side of Cup. To make this as neat as possible, I stitched together the inside fabric first, and then the outside. Be sure to catch a piece of the batting with each stitch.
- Sew a button on each side of the cup to match the elastics.

I'd love to see photos of your storage box!
Friday 14 October 2011
Where did the time go?
It's been a couple of weeks and I feel like I have gotten next to nothing accomplished. This isn't actually true, but I feel that way all the same. So for review:
Two denim skirts for client, done.

Autumn quilt, done.

House is clean and organized. My laundry is up to date.
And now with all of the space in my brain I have ideas bouncing around but nothing to make them with. The really crappy part about not having a job is not having money. I don't want to be materialistic. I consider myself an artist (ha, ha) and it's terribly hard to do much of anything with out materials to work with.
My fabric stash is down to bare bones. I did make the fantastic discovery of a bunch of half-square triangles and strips a couple of days ago that I will make my darling daughter a little huggy quilt out of. What's stopping me? I have one single sewing machine needle left that I need to use to finish some hats for the local children's hospital. Nothing is stopping me from doing those, just myself. But now that I am caught up on my "chores" next week I can work on the hats. And if my needle survives, I can work on the huggy quilt.
Subscribe to:
Posts (Atom)